See part one for the start of this story, this part begins when I walked back to my car as the tide was getting low enough for Croyde to really start barreling.
I paddled out for a surf and was swiftly joined by everyone else who had been waiting for the tide, I found myself wishing the light was better so I could shoot photo’s instead of paddling around looking for a peak which didn’t have 10 people on it already.
I did catch a few waves in the end but as luck would have it the sun dropped below the clouds and it started to look promising for shooting photo’s in the water.
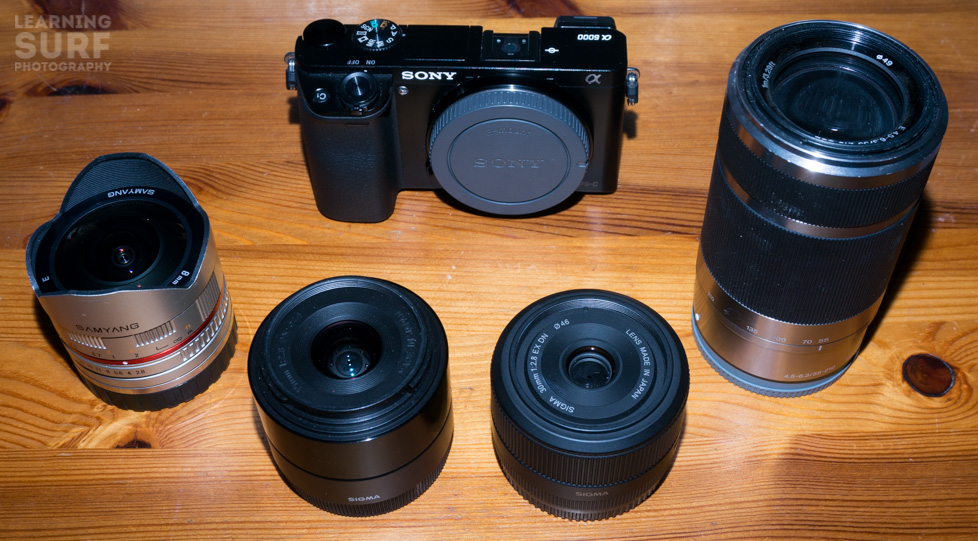
My Aquatech housing was in the car, with the relevant extra bits I needed to get the Sony a6000 working, I had the choice of the Sigma 19mm f2.8, Sigma 30mm f2.8 or Samyang/Rokinon 8mm fisheye.
The waves were of consistent quality but a bit shifty, plus I didn’t really know anyone who was surfing, so it would be hard to get good shots with a fisheye as I’d have to be in just the right place and get really close to the surfer.
As I was getting a wave in and jogging back to the car I had pretty much decided to use my Sigma 30mm f2.8, it would give me enough length to get a half decent shot even if I wasn’t in position, but I’d still be able to get something if I was close, and I was curious to see if I could nail an empty barrel shot with the 30mm.
Unfortunately I couldn’t find my 30mm when I got to the car, I was rushing to get the housing together and set up the camera so I didn’t think to look in my rucksack (I usually have the camera and three lenses in a small Lowepro bag), so I decided to just go with the Sigma 19mm that I could find.
I had it all set up, using my check list to make sure I had covered everything, and ran back down as the sun was getting nice and low.
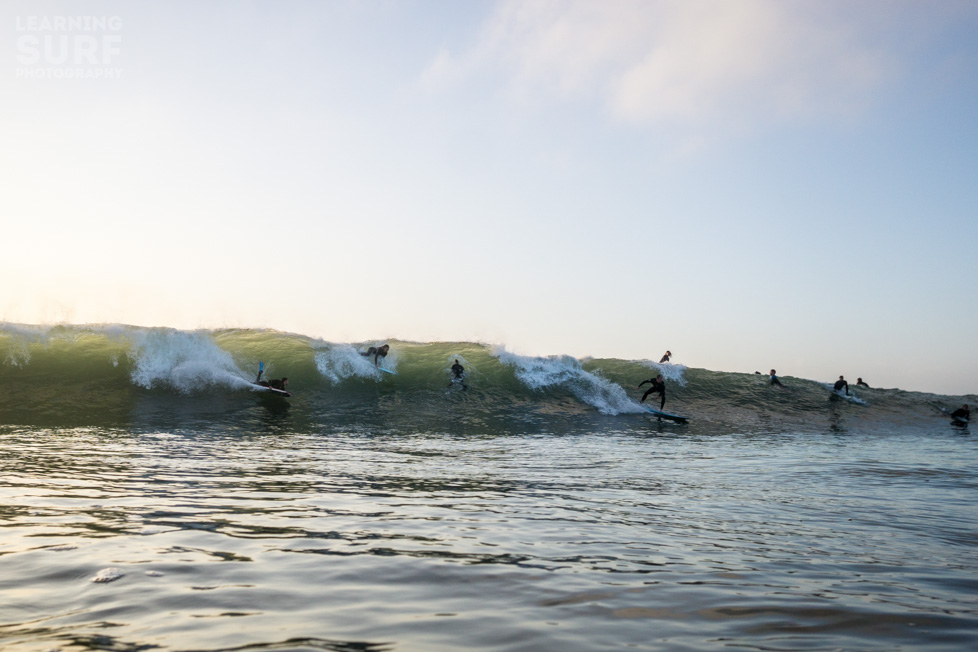
Swimming out I knew that the best angle was going to be looking into the left handers, with the sun dropping behind I’d get some nice back lit tubes, so I swam out to a peak with a couple of decent surfers on it and started shooting.
I knew two people in the line up but I’d lost them completely, it’s quite a big beach and there were a lot of people out, so I knew I wouldn’t have time to track them down, instead I just had fun shooting the lefts breaking off one of the better peaks, who-ever was riding a wave had their photo taken.
A couple of guys were getting the best ones and I was getting used to shooting with the 19mm, I was experimenting with pointing towards the wave a lot more than I would with a fisheye when there was someone riding close to me, making the back lit wave face fill most of the frame.
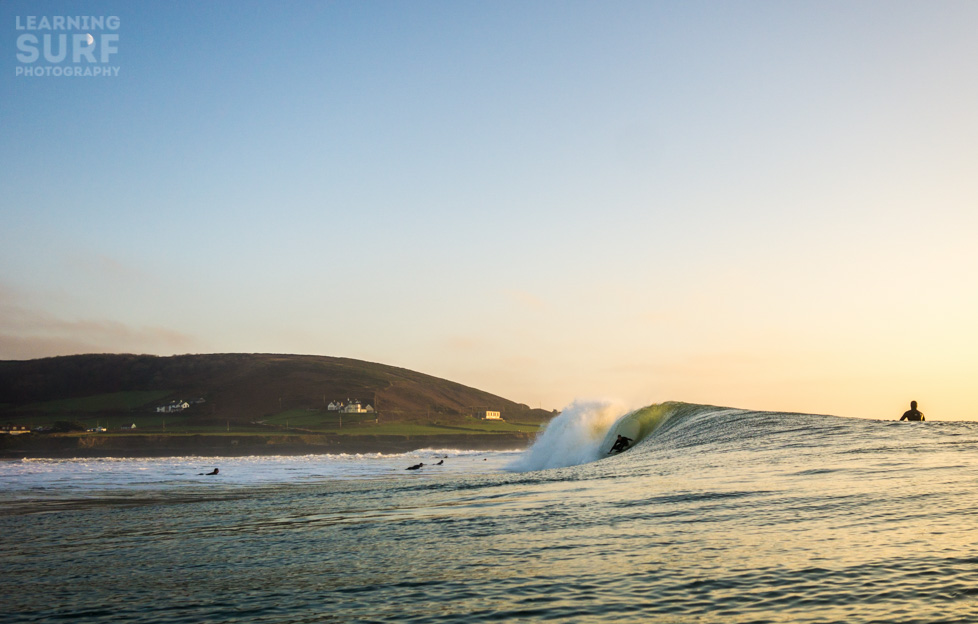
I shot a few longer distance photo’s aiming for the opposite composition, with the land side being the bigger part of the shot, but I had no idea if they would come out or not, I knew that the 24MP resolution gave me more chance to crop in when editing than I had with my previous Canon DSLR cameras but 19mm is a wide lens, so I didn’t take too many like this.
The one’s I did take came out pretty good most of the time and I like the way the composition turned out, although this one in particular looks like it’s really wonky, I don’t think it’s that bad if you look at the telegraph poles and houses but the texture on the water gives it a real slanted look. As a bonus I got the moon in the shot too, it’s in the R of the watermark in the shot above.
So here’s the second photo that was published:
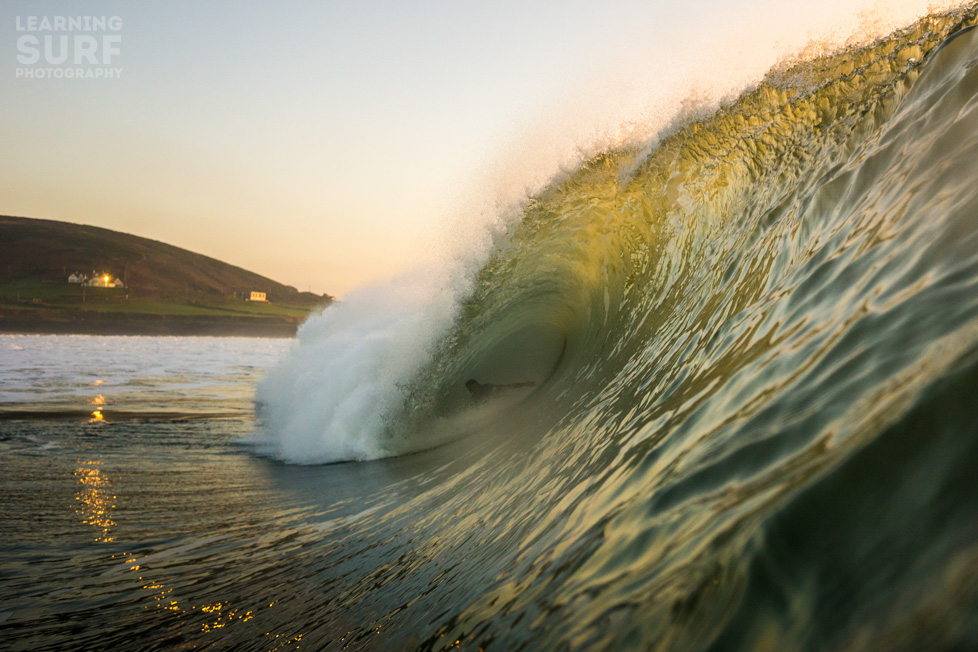
As you can see there’s a guy in there, on his backhand, maybe if he was goofy he’d have got a bit closer to me in the tube, but I like how it came out even though he’s partially hidden by the foam ball.
The focus is on the top right rule of the frame, so the rider, had he been standing tall in the tube, wouldn’t have been crisp, but it’s probably quite hard to tell at the resolution you see here, and also at the size that it was printed in the magazine, this isn’t because I had selected an unusual focus point, it’s actually the center of the original shot, I just cropped it in Adobe Lightroom.
I will be discussing how I processed the shots in the next post, then what I’ve learned from the days shooting, and what I’m going to do differently next time in follow up posts.
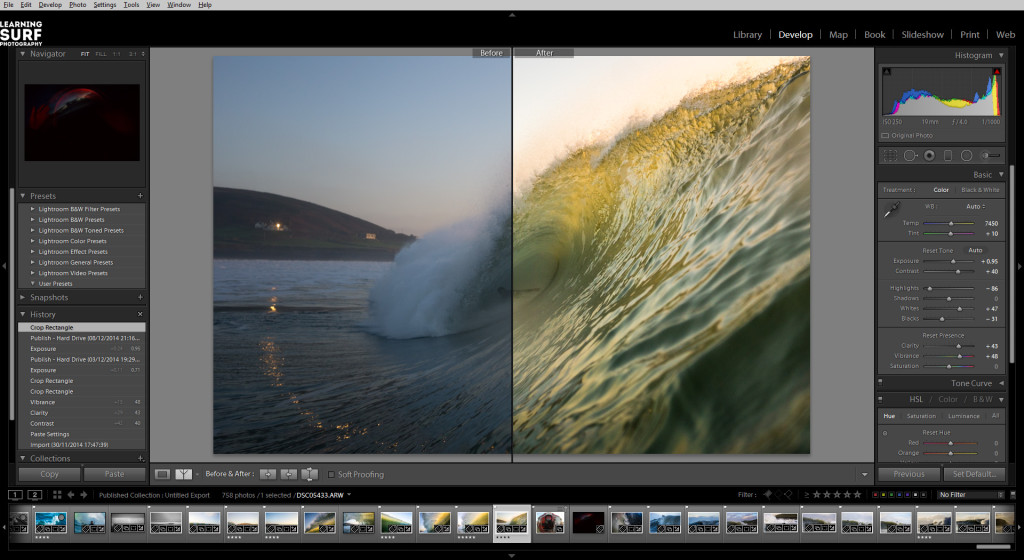
Part 3 is now available too, so check it out if you want to see how I went from the original file to the finished version, and to see the final (and best) photo that got published.
Leave a Reply